Refurbishing the exteriors of a home can be a daunting task, both time consuming and expensive. So it’s crucial to get it right the first time by understanding what works best for you and your home. When it comes to concrete paving, we can help explain the options for you.
There are a number of factors that need to be considered before you begin fixing the exteriors of your home. Your choice of materials and the process you use could significantly increase the life of the repairs and upgrades that you are going to carry out. This is especially true when you are looking to fix the concrete paving and roofing tiles.
Concrete paving and roofing tiles have a huge impact on the design value of a house. However, as is commonly seen, concrete paving and roofing tiles start giving way with time and this makes the house appear dull and old.
So, what’s the best way you can keep them looking new?
Here’s a look at a few options, along with the advantages and disadvantages associated with them.
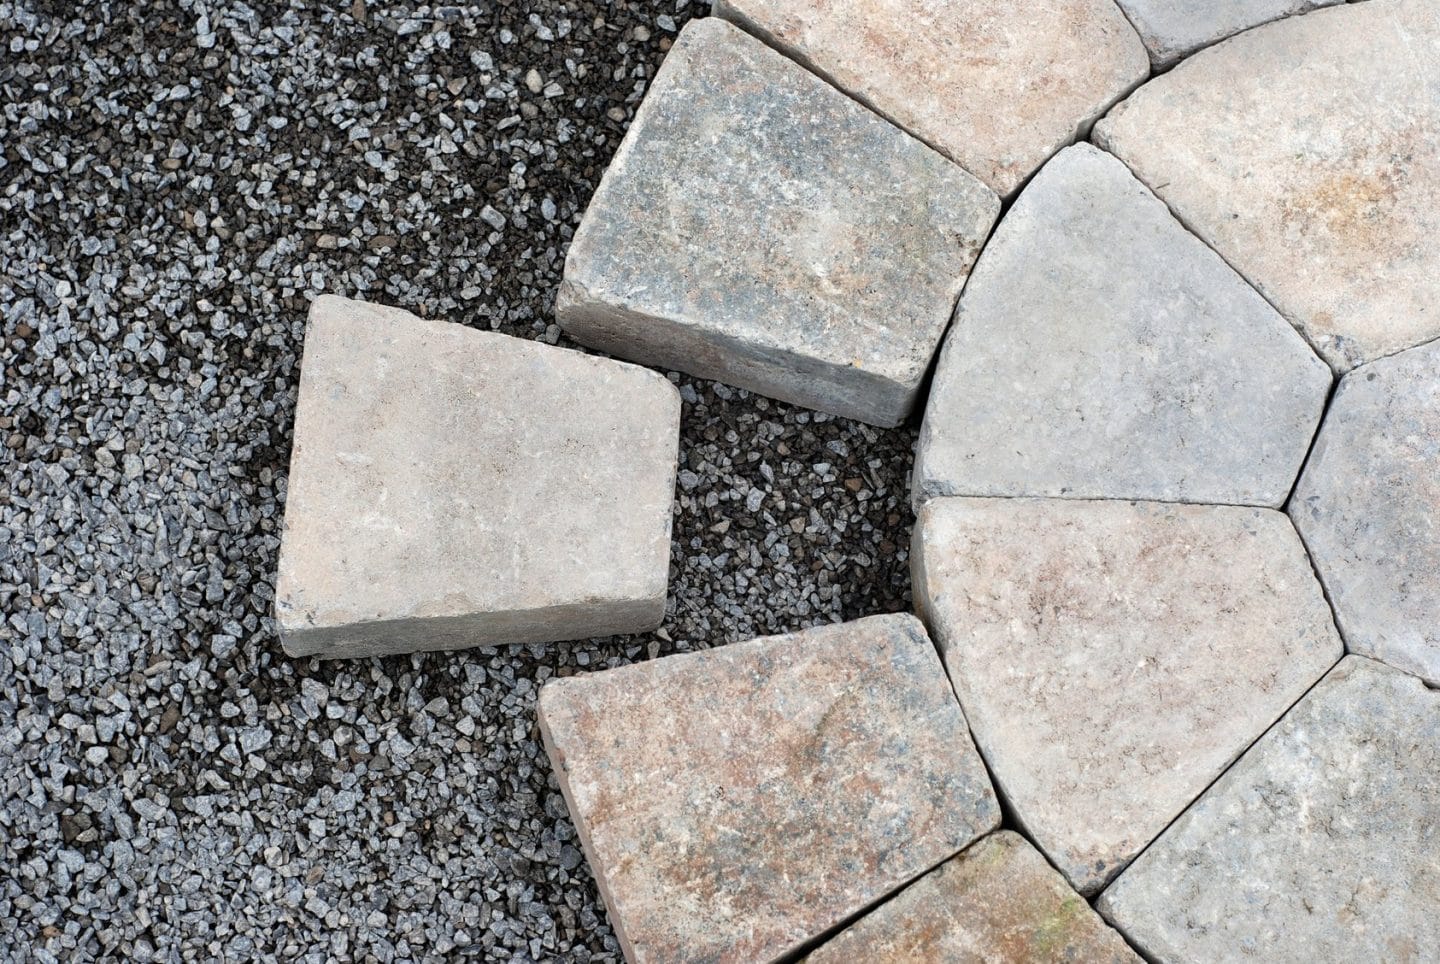
Replacing Concrete Paving
This is by far the best solution, but, it is also one of the most expensive ones. The cost of replacing paving will vary depending on the size of the area that needs to be replaced. Concrete paving come in different varieties and price points.
The commonly seen rectangular concrete paving can cost anywhere between £8 to £10 per m² inclusive of VAT. But, if you are considering different patterns, colours and shapes, like the olde-world paving or the tumbled ones, then those could increase your material cost significantly.
Replacing Roofing Tiles
On the other hand, the cost of replacing roofing tiles depends on:
- the location and size of the property
- the roof design, and
- the type of tiles you will be using
A simple ‘up and over’ roof design includes use of materials like roofing tiles, batons, fixings, cement undercloak, sand/cement, felt as well as ridge tiles. Cost could vary drastically depending on a number of factors like how easily can the roof be accessed, if scaffolding will be required and how easily can the tiles be sourced.
To Paint or Not to Paint
Experts say that painting the concrete paving or roofing tiles is not a very good option. Although it is cheaper, it’s more of a temporary fix.
But if you’re okay with a short-term solution, then maybe you can consider painting your concrete paving. While choosing the paint, do consider anti-slip paints and look for coats that offer a higher resistance to scratches and tread marks from tyres.
Acrylic Concrete Paint
You could use acrylic concrete or paving paint. This type of paint is ideal for surfaces that experience the most traffic. It comes in a wide variety of solid and opaque colours, but red, green and black are the most popular.
However, before you go ahead and paint the concrete paving, you’ll need to prep the surface. A good recommendation to help the paint last longer is cleaning the surface thoroughly and letting it dry completely.
Another thing that you need to keep in mind is the air as well as concrete temperature. The ideal time to paint is when the temperature is between 5°C to 32°C . You can use a precision thermometer to monitor the temperature of the concrete.
For roofing tiles, water-based paints, especially meant for roofs are your best bet.
However, painting roofing tiles is far more dangerous and involves the use of scaffolding, jet washing, fungicidal wash and finally an airless sprayer to paint them, so it is best left to the professionals. As an example, if you don’t use the jet wash carefully, it may scrape the top layer off the tiles, and using a brush to paint the roofing tiles might just not cut it, as the finish is going to be shabby and also because you’ll need to apply a thick layer of sealer first, which might not be an easy task.
That being said, if you are looking for a durable solution and are willing to spend a little extra, then replacing your roofing tiles is the best solution and it far outdoes all the other options available today.
So, what choices are you left with then? Let’s take at some alternatives now.
Replacing Your Roofing Tiles While on a Budget…
There are various ways to replace only the damaged concrete roofing tiles rather than all of them. You should explore this option with some local companies to figure out your next steps.
You could also consider installing solar panels. They cool the house by absorbing sunlight to create electricity that can be used by you.
Staining your Concrete Paving
For concrete paving, one popular suggestion to consider is staining the paving. Since the traffic of concrete paving is both on foot and vehicle traffic, it’s best to stain them as it could prove to be a much better, longer lasting solution than to simply apply a few coats of paint.
How do You go About Staining the Concrete Paving?
Hiring a skilled professional could ensure that the job is done quickly and efficiently.
However, if you’re a DIY-type of a person, then you can attempt to complete the staining process yourself. But only do this if you are sure of the process and have all the safety equipment needed to handle the chemicals used during the process.
We’ve tried to simplify the process for you…
3 Basic Steps to Staining Concrete Paving on Your Own
#1-Check for Absorption
One of the first things that you need to check for is absorption. It is important for the concrete paving to absorb the stain. Since most concrete pavings are made up of porous materials, like limestone, they will usually absorb liquids and in this case the stain the surface.
To test if the paving is ready to be stained, simply spray the area with water through a hose. If the water beads remain on the surface, this means they will not absorb the stain. On the other hand, if the water seeps through, then you’ve taken care of the first step.
#2-Cleaning the Concrete Paving
With constant use, concrete paving is prone to cracks, chipped edges or chipped surfaces and dirt. These can create issues while staining them.
If you don’t take care of these issues before staining the paving, then all these defects will become visible once the stain sets. This is not an ideal situation to be in.
You can clean the dirt using soap and water, but ensure it’s completely dry before you start the staining process.
If you have any scratches on the surface, you can repair these by sanding them. You can restore chips, gouges and deeper scratches by using a concrete patch kit. The moment the concrete patches dry, ensure to sand it and level the surface before staining them.
#3-Etching the Surface
For the stain to set properly on the paving, it needs some sort of a texture. In this case, washing them with etching acid will work. Paint the etching acid with a brush and wait for 30 minutes.
During that time, the etching acid will eat away at the limestone and the smooth surface will be texturised.
Next, wash them with a mixture of water and vinegar. This will neutralise the acid. Scrub the paving with plain water and you’re all set to stain them!
For a homeowner, the cheapest solution might seem like the best one, well unfortunately, that’s not the case when it comes to painting concrete paving and roofing tiles. You should consider other options instead of painting and if time and budget are a constraint, then speaking to a professional might help in understanding your options better.
For more information on painting concrete paving and roofing tiles please contact our Technical Team who will be happy to help!
