Promain are proud of the relationships we have built up with our suppliers. When we mentioned that we were keen to get great information posts on our Promain blog page, we were delighted to get a response from Teamac. Perfect timing, a very topical subject! Blisters aren’t limited to being the result of burns and scalds! Read on more to find out about how blistering paint can happen.
Over to Chris Langham from Teamac to tell you more:
One of the most common complaints levelled at all paint manufacturers is blistering. As the weather conditions change in Autumn, there are invariably some boats, tractors, railings and other farm implements that develop blisters.
The causes of the blistering are many – they can be summarised as follows:
- Osmosis
- Contamination
- Moisture in the substrate
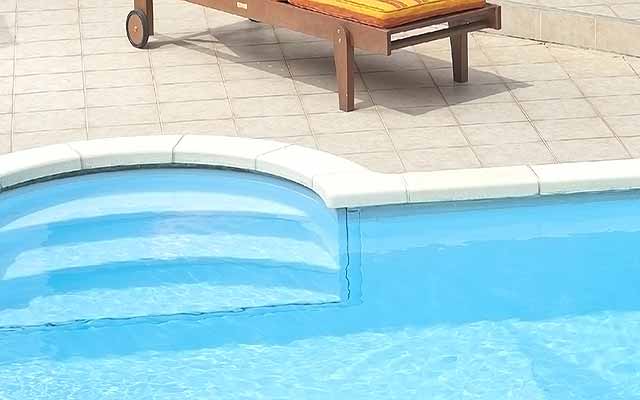
Probably the most common form of blistering we see is in swimming pools, customers desperate to get the pool painted in Spring, apply Chlorvar chlorinated rubber paint after cleaning, abrading and rinsing the existing chlorinated rubber coating. They will then apply two coats (one per day) to refresh the pool.
The Teamac swimming pool guidance note states the coating should be left to dry for 14 days, when faced with a beautifully painted pool, that looks perfectly dry after 2-3 days, the temptation to fill it can often prove too much.
Solvents trapped by the water in the film, warm up, vaporise and expand with any heat from the sun, etc. Blisters will then form in between the coating layers and for the sake of remaining patient for a further 10 days the pool becomes a nightmare project.
The first point to make is that all paints are permeable, to a greater or lesser extent, chlorinated rubber being one of the least permeable … the glass flake incorporated into 2 pack systems used in severe marine environments, e.g. the North Sea, is simply a means by which we reduce the permeability of the coating with a physical barrier.
Osmosis
Osmosis is defined as the property of a fluid, usually water, to pass through a semi-permeable membrane. This is into a solution where the concentration is higher. In effect it tries to equalise the concentrations of the liquids on either side of the membrane.
Countermeasure – Apart from changing coating system type, we can only reduce the permeability of the film by applying more layers, ultimately a thicker film. Many coatings have best application through multiple thinner coats. This is the main reason that our Marine specifications will often include 6 or 7 coats of material. These coats consist of:
- 2 primer
- 2 Marine undercoat
- 2-3 Marine Gloss
Applying one coat of Marine Gloss with minimal preparation, to a previously painted boat is simply asking for trouble … in this scenario, on a previously painted substrate, you can reduce the number of coats to let’s say, patch prime any bare, or nearly bare substrate:
- 1 Marine undercoat
- 2 Marine Gloss
Contamination
‘Fail to prepare, prepare to fail’ – is my favourite paint related saying.
Contamination can come from a number of sources:
- Salts or laitance in concrete
- Salts on old galvanising
- Introduction by applicator
- Failure to rinse off Mordant solution or Acid etch
Using Tak rags can also leave a residue (solvent degrease afterwards) as can washing with soap and not rinsing thoroughly.
Salts are the number one drawing agent for water via osmosis, reducing the concentration and creating a blister.
In many ways rinsing off the pre-treatment is equally as important as cleaning the substrate itself. Ideally, a final clean of the substrate, after rinsing and drying, is a solvent degrease wipe with a clean cloth … after de-nib of the applied coats is simply a clean slightly damp cloth.
Countermeasure – clean and prepare thoroughly.
Moisture in the Substrate
Ideally, use a moisture meter to measure the percentage moisture content. Always adhere to the coating manufacturers’ recommendations for substrate moisture content.
If this is not possible then ASTM Standard D4263 describes a test for indicating moisture in concrete, for example in swimming pools.
Tape a sheet of clear polythene approximately 18 inches square tightly to the concrete surface. Ensure to totally seal the edges. Leave the area in place for at least sixteen hours, then remove the plastic. Examine the area underneath for moisture / condensation. You can perform this test on either horizontal or vertical surfaces. If the polythene remains dry, the substrate is dry enough.
Countermeasure – confirm the substrate is dry. Best practice is to use a moisture meter prior to painting and adhere to the manufacturers’ recommendations.
With a little more attention to detail and the occasional exchange of outside jobs to inside jobs, depending upon moisture content, and the painter/decorator will become far more confident in his ability to apply exterior coatings successfully.
Advice is always available of course. Call 01462 421 333 to find out more.
