The first thing you need to do when erecting a closeboard fence is to make sure all of the notches in your posts are facing the same way. This is usually towards the back of the fence. Having all of the notches the same way ensures that the horizontal arris rails can fit together comfortably. After all once you put one or more of these posts in the ground you do not want to dig them up and reset them all over again.
After the posts are in place you will attach the arris railing. These railings are actually horizontal support beams that the featheredge boards will be attached to later on. Now, you will need to stagger the joins and in order to do this you will need to cut the first board to 1.8m. The boards are usually 3.6m in length. To secure the arris rails to the posts you will need galvanised nails.
Erecting A Closeboard Fence
Once you have put all the arris rails in place you can fit gravel board across the base of your fence. The gravelboard has to be level across the whole length of the fence if you want the top of the fence to be even. Sometimes you might have to dig the gravelboard into the ground in order to get it completely level. However, if you are building a fence on an incline you will not need to dig into the ground. In that case you can use stainless steel screws or galvanised nails to attach the gravelboard to the fence posts.
The next step in erecting your fence is to put the featheredge boards on top of the gravelboards. Once they are on top the gravelboards you can attach them to the arris rails. You have to attach these one at a time and use only one nail per arris rail. The reason for using only one nail is so that the wood can expand and contract naturally and there will be less chance that your boards will split. Doing this will safe time and money in the long run, you will not have to constantly replace the fencing. Make sure you overlap the featheredge boards by 25mm but never nail 2 boards together. Again galvanised nails are the best to use when attaching these boards, preferably those sized 50mm.
As soon as all these steps are complete you have 2 choices on how to finish your fence. First, you could leave it as is without anything else added to it. The other choice is to purchase some capping timber and to put on top of your fence. It is all up to you as everyone has different tastes.
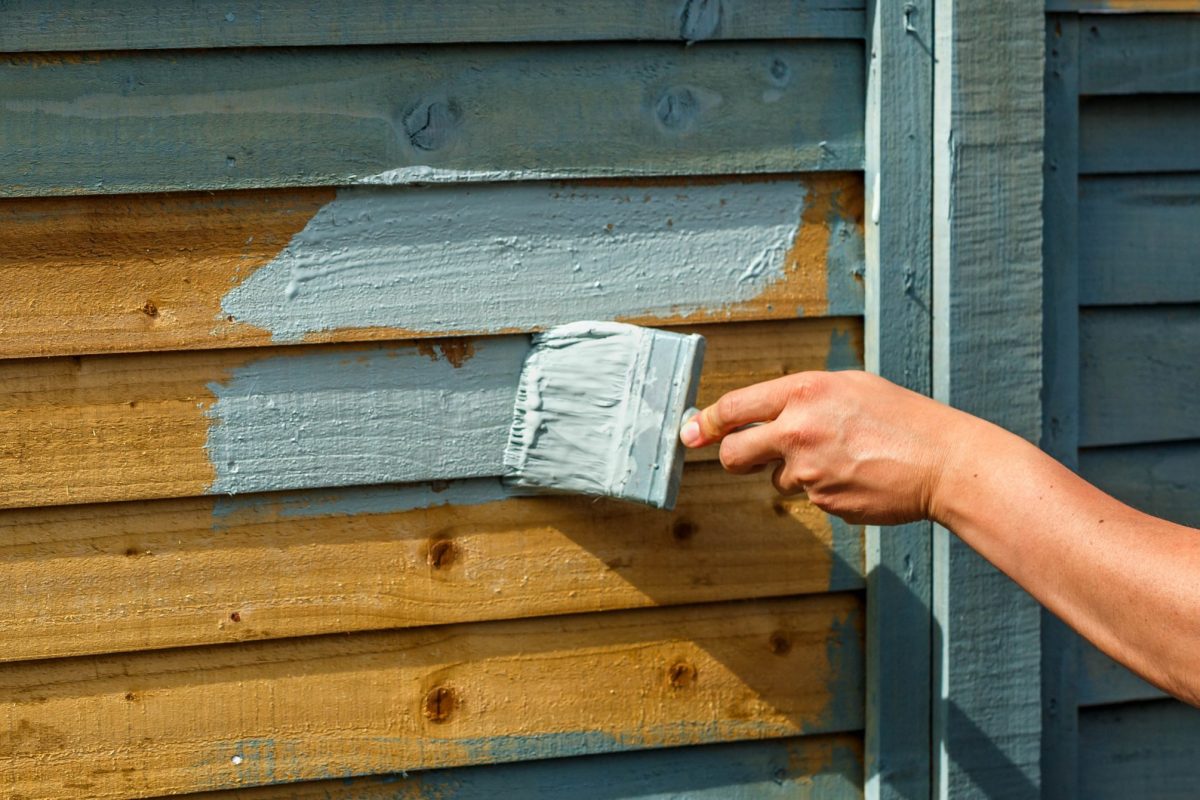
The last thing you need to do is to protect your fence with a good quality wood protection product. Using this will keep the fence from getting too weather worn and protect it from rotting. That way you can enjoy your fence for a long time without having the hassle of replacing boards as often.
See the full range of Owatrol Products available from Promain here.

